
Personally, I don’t like the idea of having a Microsoft account to set up Windows 11, no matter if it’s because of privacy, don’t have a Microsoft account or having trouble with Remote Desktop with a Microsoft account, here’s how to get around the problem.
Microsoft wants you to set up your device with a Microsoft account since it offers some additional benefits, including better integration with the company’s cloud services (such as OneDrive and Office), content synchronization between computers, and better security.
Although there are additional benefits to using an online account, many users still want to use the more traditional experience with a local account. The problem is that Microsoft is making it harder and harder to set up Windows 11 without a Microsoft account.
To complete the out-of-box experience on Windows 11, use these steps:
- Select your region.
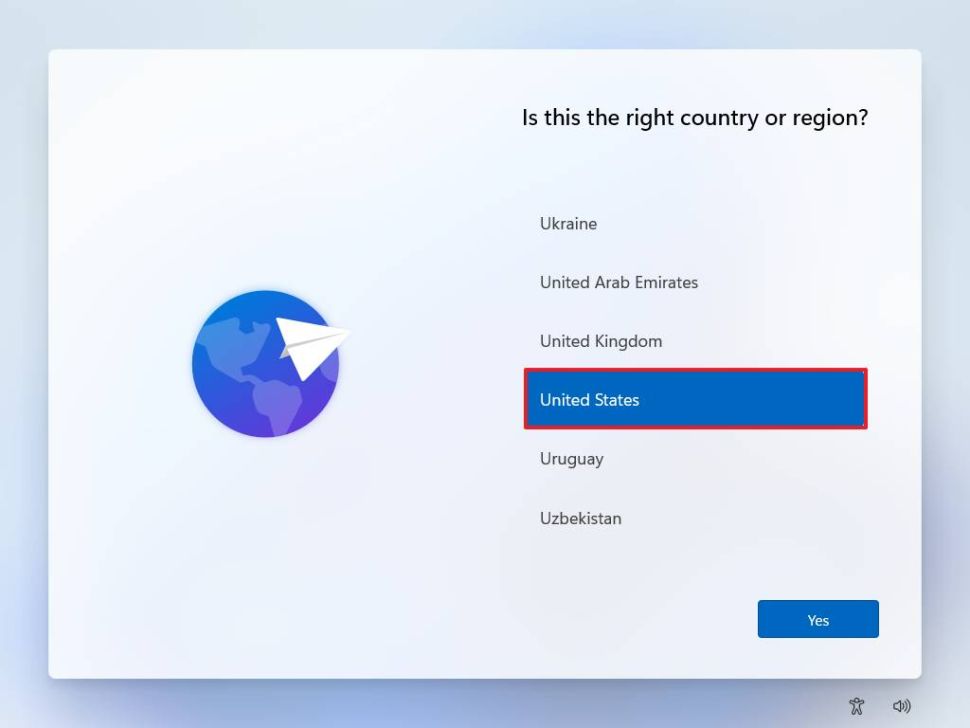
- Click the Next button.
- Select your keyboard layout setting.
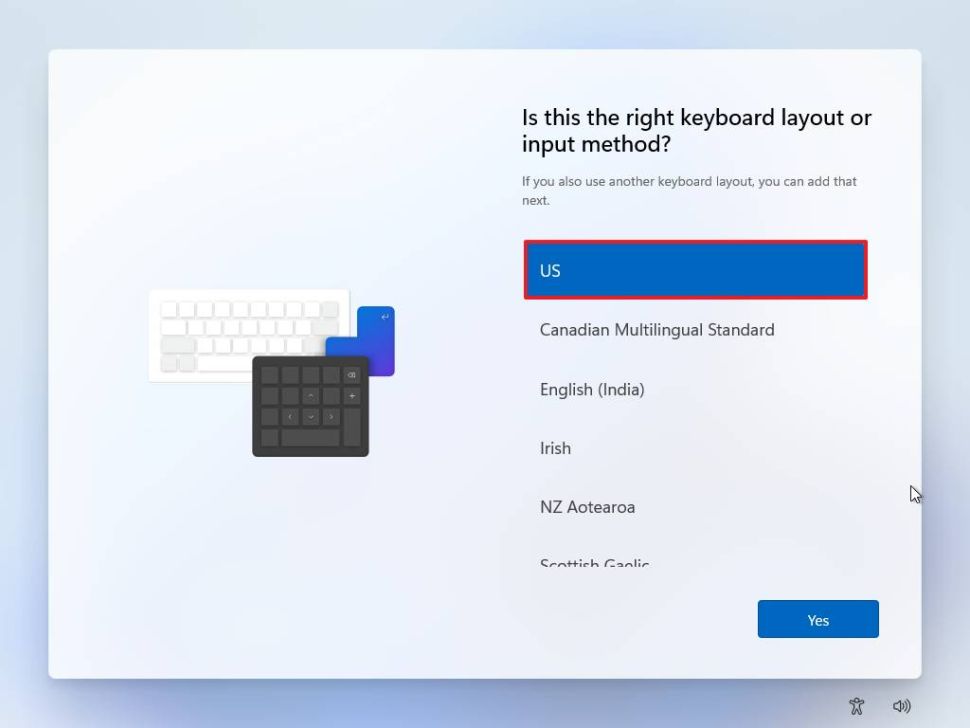
- Click the Yes button.
- Click the Skip button.
- Connect to the Wi-Fi network (if applicable).Quick note: If you use an Ethernet connection, the device will connect automatically to the network.
- (Optional) Confirm a name for the device.
- Click the Next button. Quick note: If you proceed with this step, the device will restart automatically, but you will be able to pick up where you left off.
Continue with Solution 1 to use Command Prompt to remove the current network configuration or Solution 2 to disconnect the device from the network to fall back to the screen that lets you create a local account.
Solution 1: Command Prompt with OOBE\BYPASSNRO
To remove the network configuration to create an account without a Microsoft account, use these steps:
- Use the Shift + F10 keyboard shortcut to open Command Prompt.
- Type the following command to release the current network configuration and press Enter: OOBE\BYPASSNRO
- Windows will reboot automatically and select your country or region. Next is the “Let’s connect you to a network” screen. Only this time, you may select “I don’t have Internet” to skip this.
- Then you select “Continue with limited setup” to then create a local account during setup.
Solution 2: Disconnect the network
If you have an Ethernet (wired) connection, use these steps:
- Disconnect the network cable.
- Click the Back button.
- Confirm the name of the local account.

- Click the Next button.
- Create a password for the account.
- Click the Next button.
- Choose your privacy settings.
- Click the Next button.
- Click the Next button again.
- Click the Accept button.
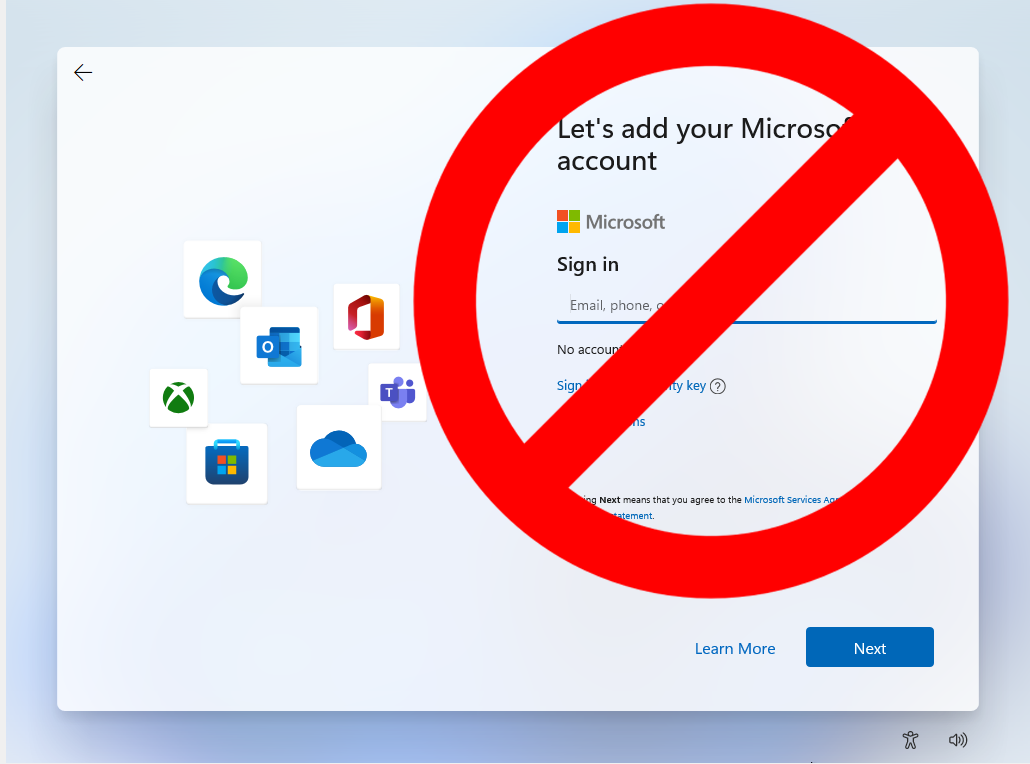
Solution 3: If you continue getting to Sign In with a Microsoft Account. The “No Thank You” Method to Install Windows 11 with a Local Account
As of October 2022, this method still works. This works even for Windows 22H2, it involves confusing Windows by entering an email address that, apparently, has been used too many times. This worked for us, but Microsoft could get wise to it.
- Enter [email protected] as the email address and click Next when Windows 11 setup prompts you to log into your Microsoft account.
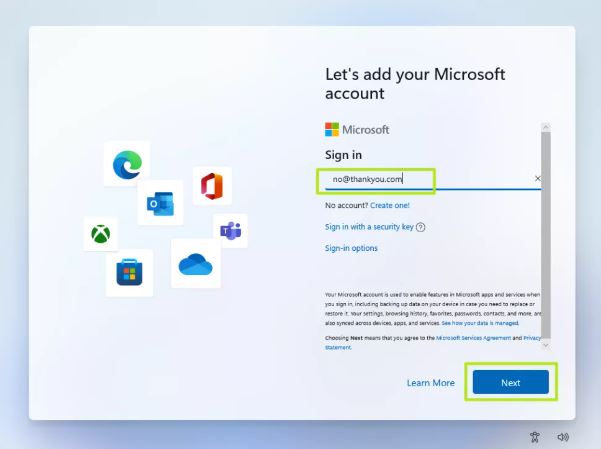
- Enter any text you want in the password field and click Sign in.
- After you have entered the password, you’ll get a message saying “Oops, something went wrong.”

- Enter the username you want to use.
- Enter a password and click Next. You can leave the field blank but it’s not recommended.